Stay Gorgeous, Share the Secret! 💖
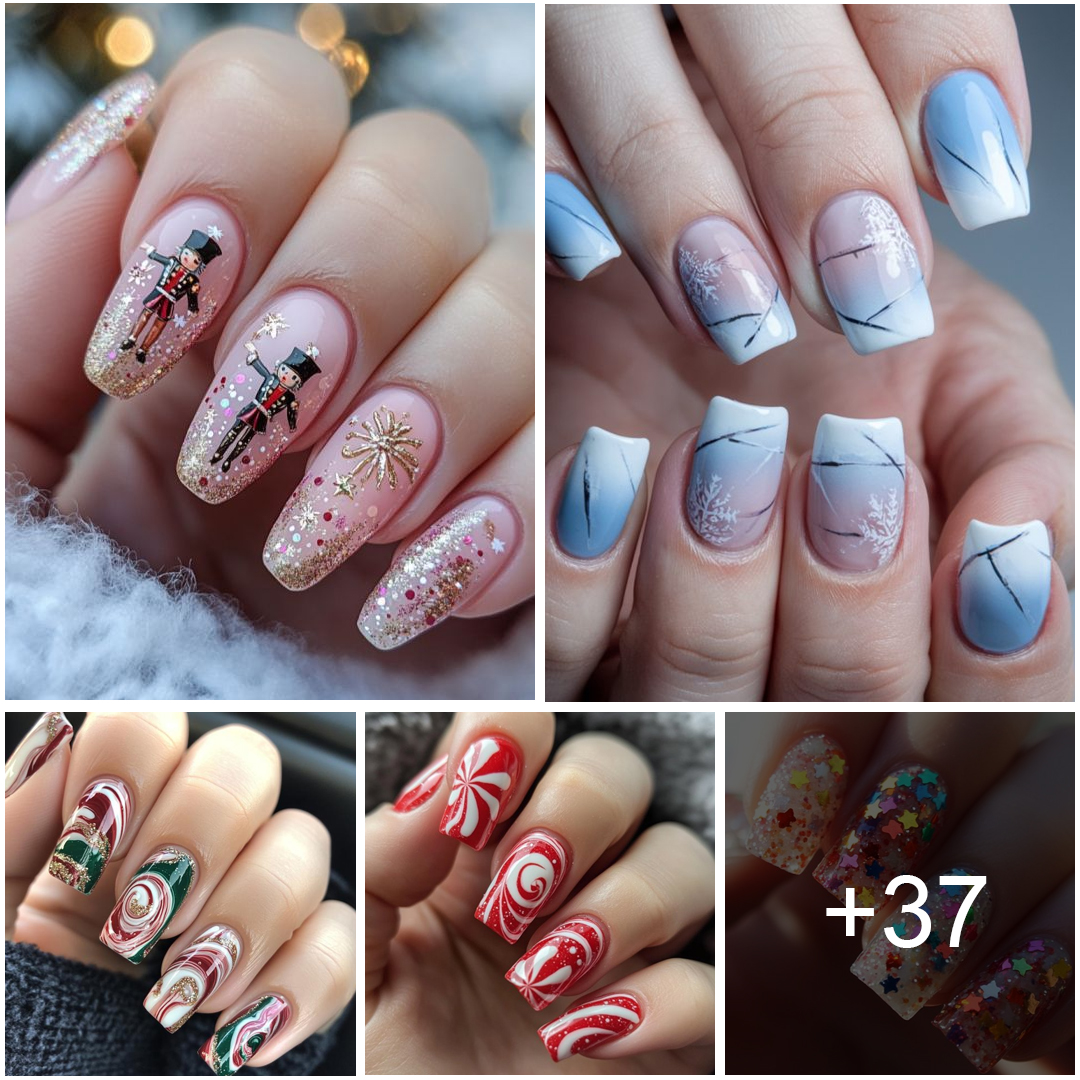
The holiday season is upon us, and what better way to express your festive spirit than through your nails? Christmas nail art is all about spreading cheer and adding a touch of holiday magic to your fingertips. In this article, we’ll explore 26 festive Christmas nail art design ideas that will make your nails the talk of the holiday party.
When you click on certain links within my blog posts, it may lead you to a product page where you have the opportunity to make a purchase. Please note that if you decide to make a purchase through those links, I may earn a commission from the retailer or brand. For more information, please visit the Affiliate Disclosure page on my blog.
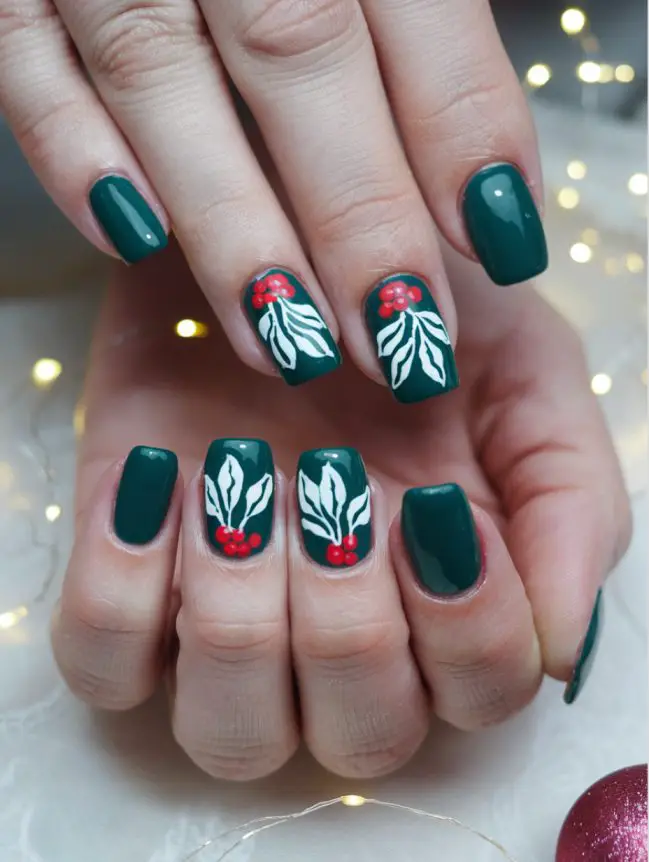
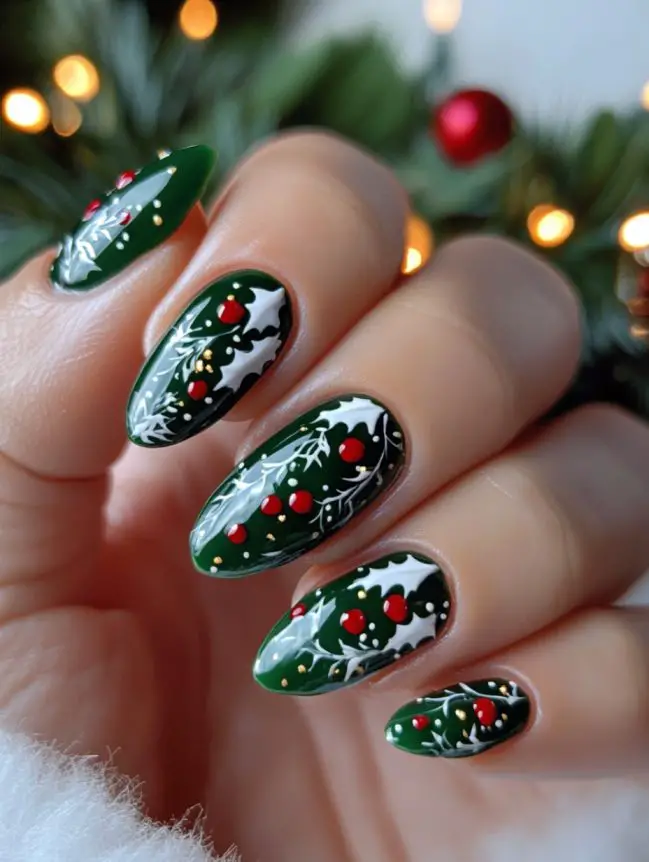
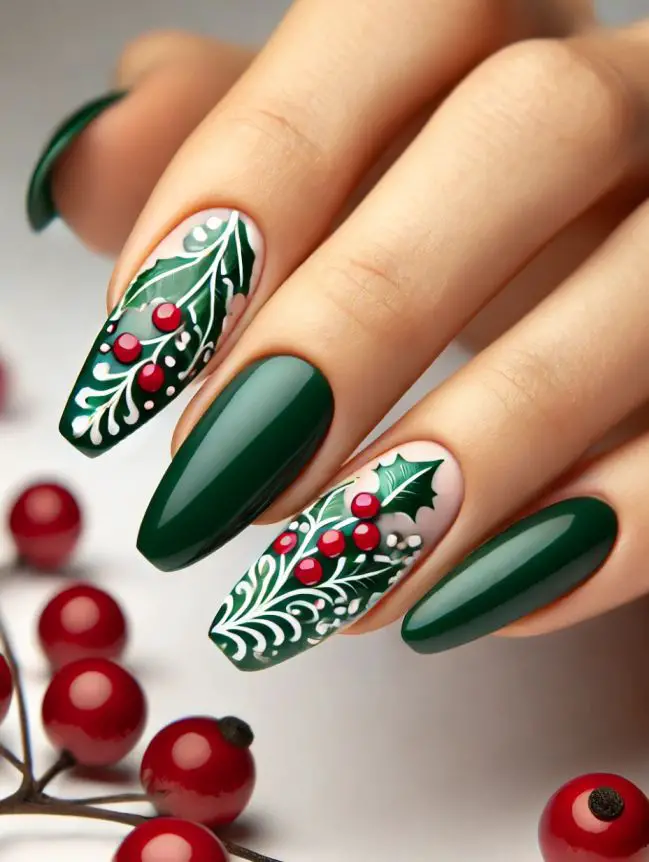
- Products: Deep green nail polish, red nail polish, white nail polish, and a thin nail art brush.
- Design: Paint your nails deep green for the background. Use white polish to create holly leaves and add bright red berries for a festive and nature-inspired look.
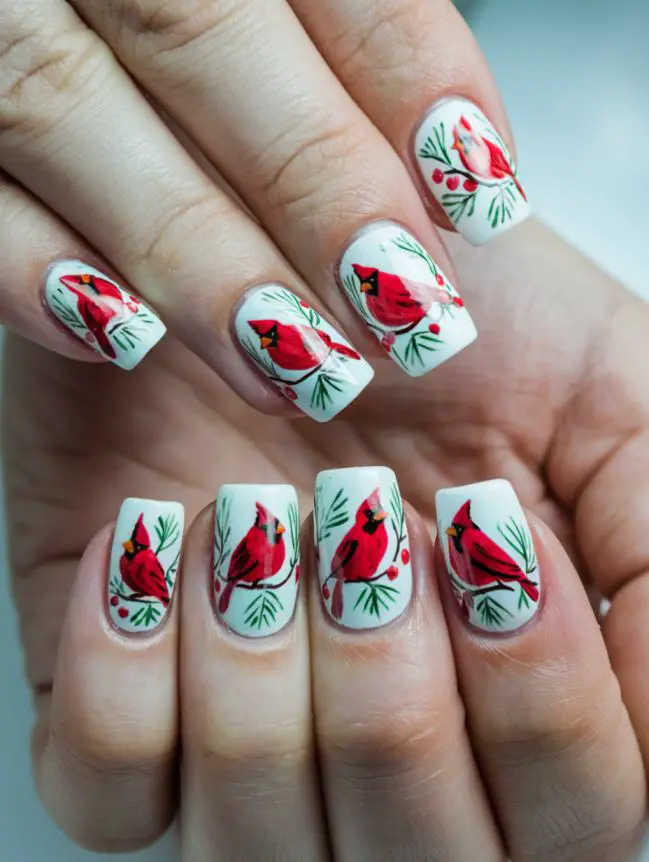
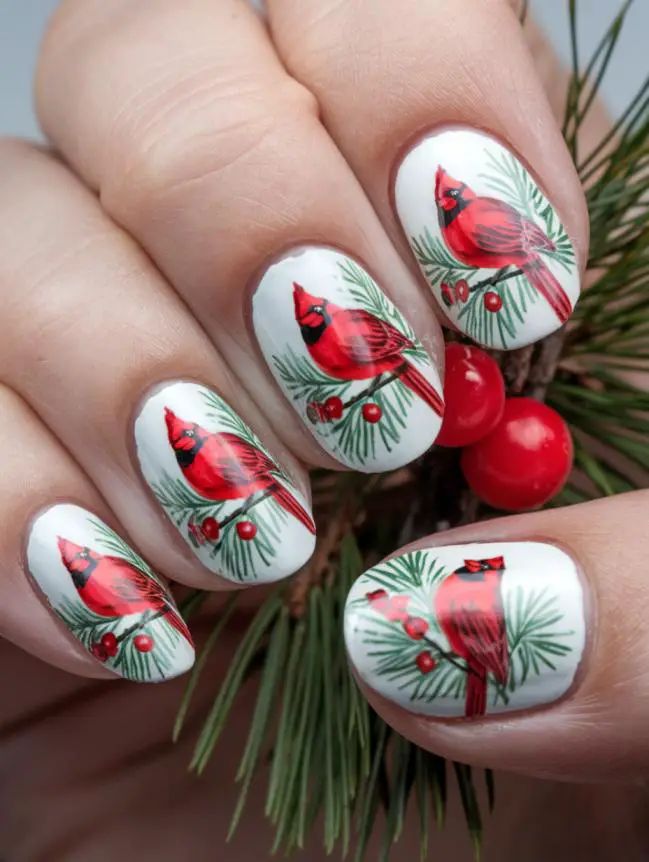
- Products: White nail polish, red nail polish, black nail polish, and a nail art brush.
- Design: Paint your nails white as the base. Create a beautiful red cardinal bird on one nail with black accents for its features, such as the beak and eyes.
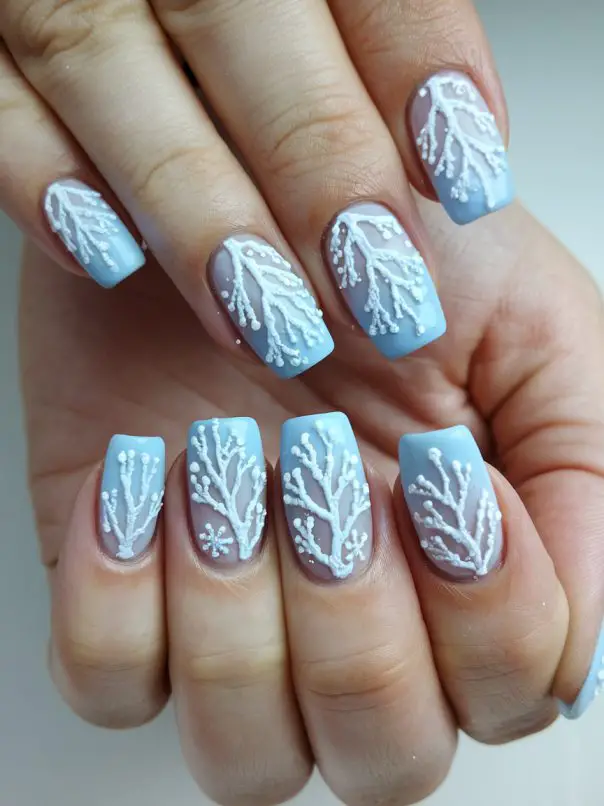
- Products: Silver nail polish, light blue nail polish, and a thin nail art brush.
- Design: Paint your nails light blue as the base. Create delicate, icy branches with silver polish for a winter wonderland look.
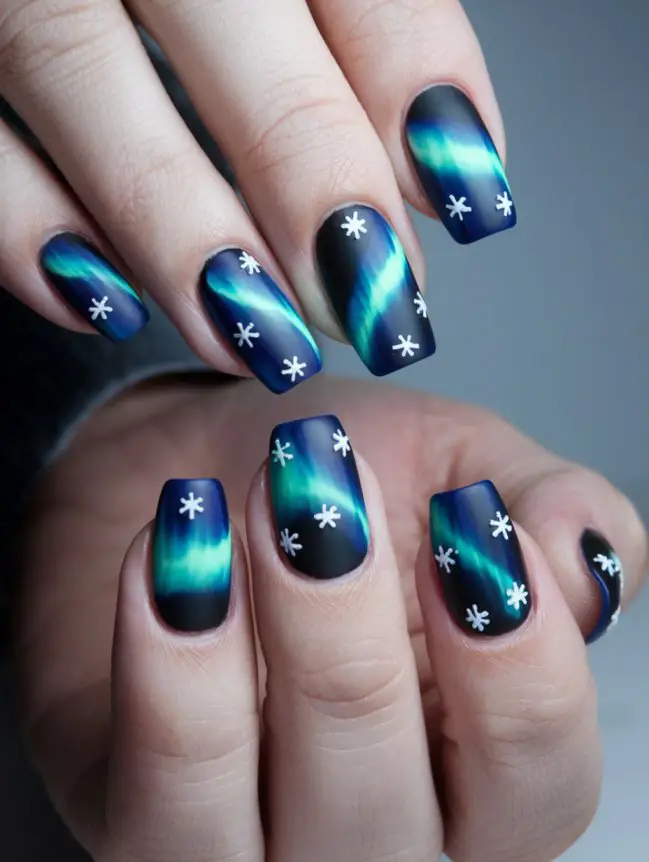
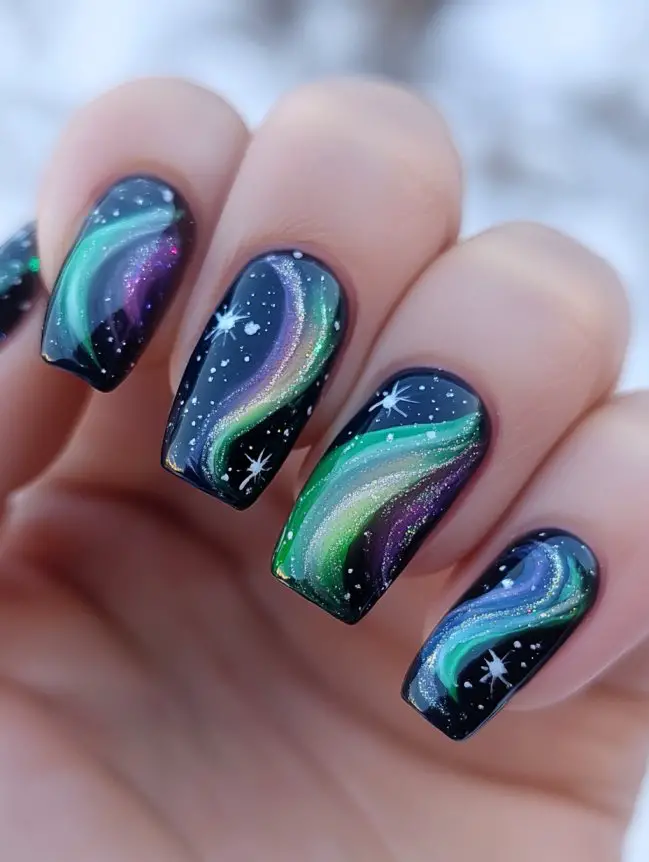
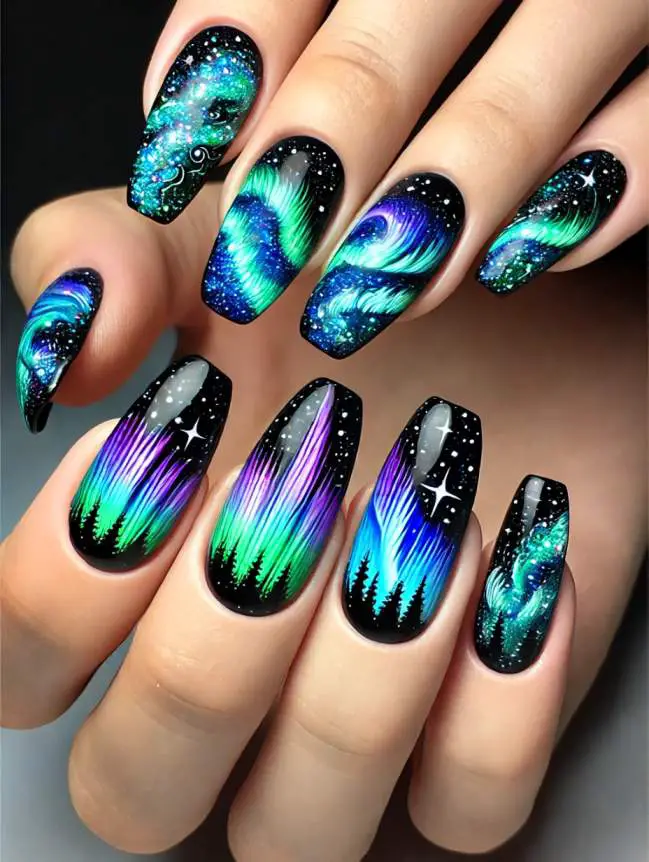
- Products: Dark blue or black nail polish, iridescent nail polish in various colors, and a thin nail art brush.
- Design: Apply dark blue or black as the base. Create swirling northern lights in shades of green, blue, and purple using iridescent nail polish for a mesmerizing natural phenomenon.
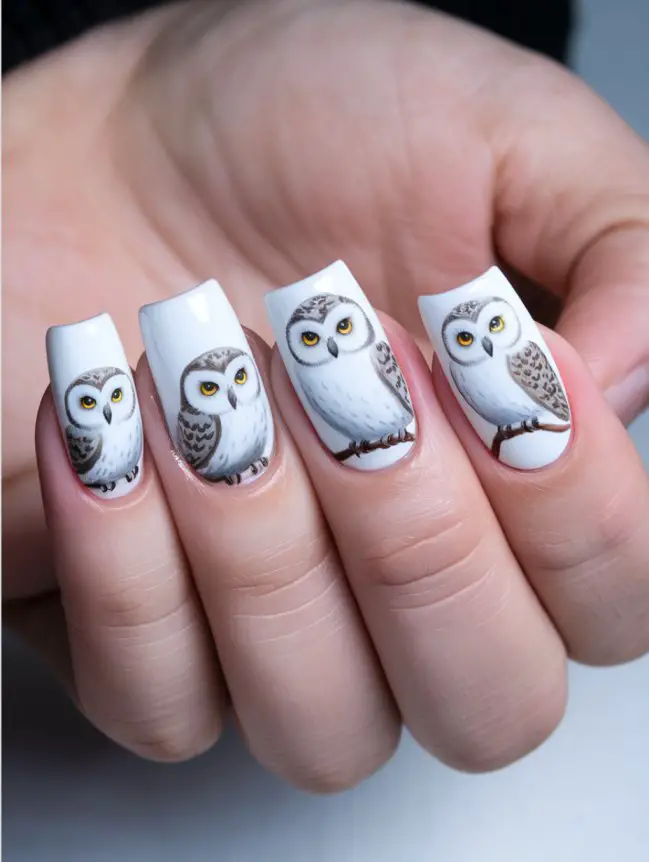
- Products: White nail polish, gray nail polish, black nail polish, and a thin nail art brush.
- Design: Paint your nails white as the base. Create an adorable snowy owl on one nail using gray and white polish with black details for the eyes and feathers.
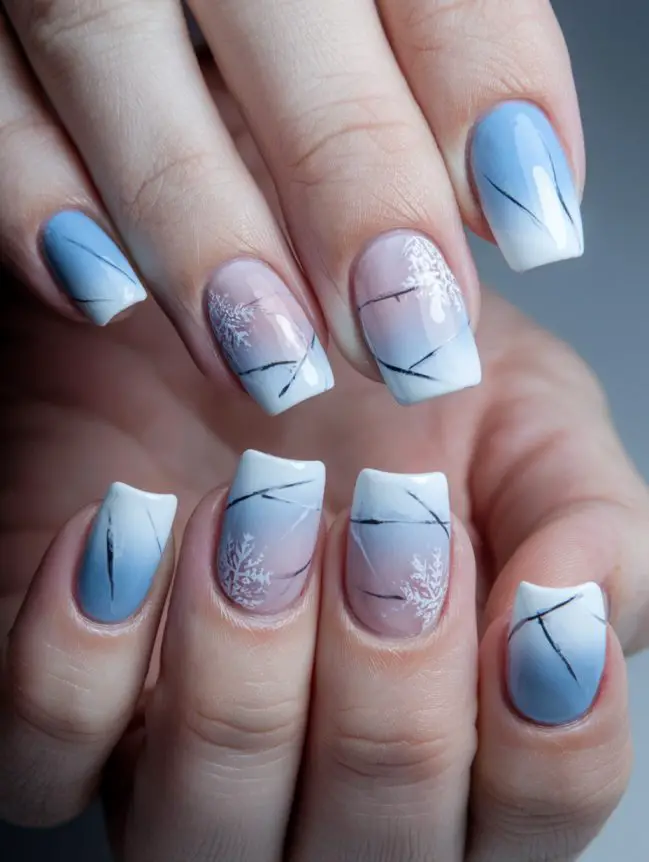
- Products: Light blue nail polish, white nail polish, and a nail art brush.
- Design: Paint your nails light blue for the frozen lake. Add white lines to depict ice cracks and create a serene winter lakeside scene.
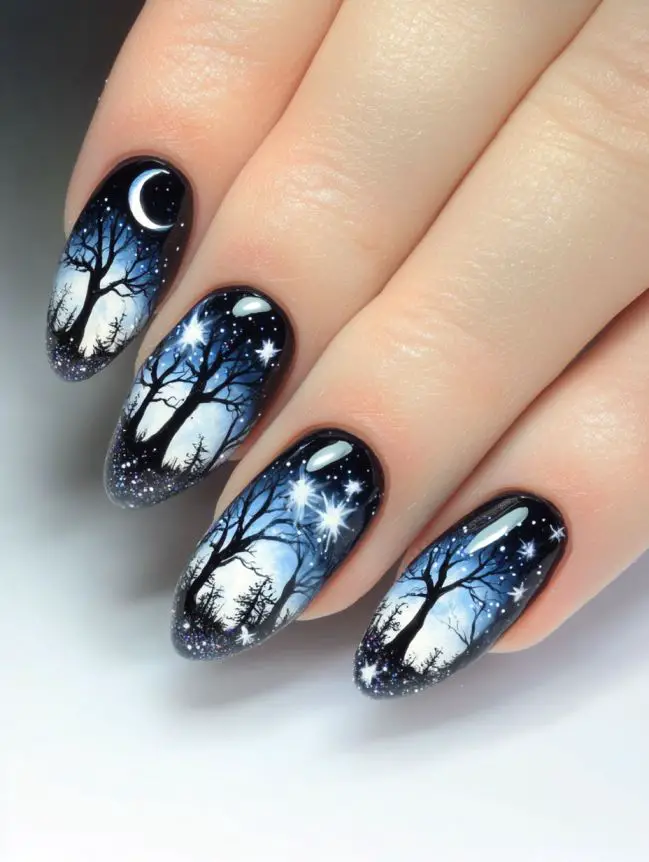
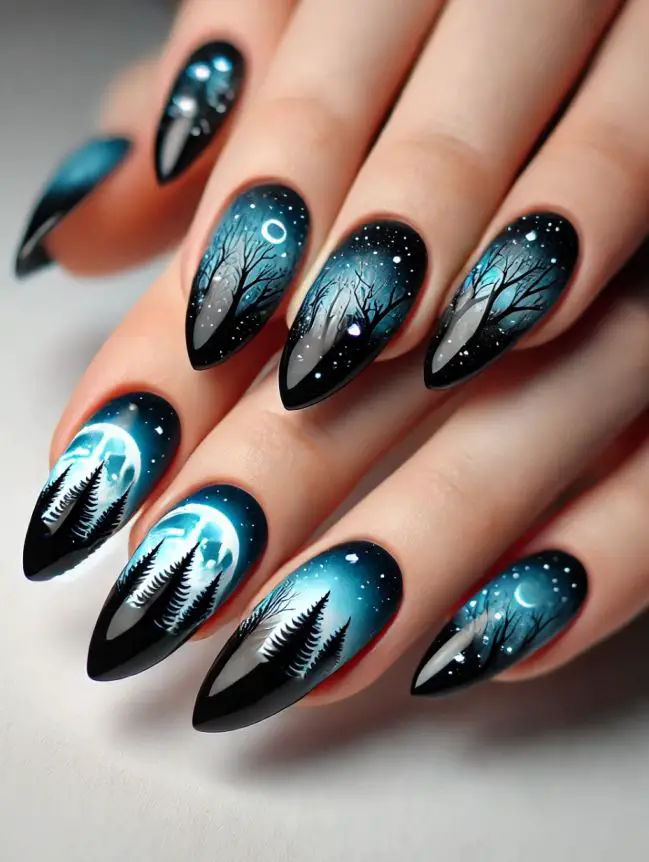
- Products: Dark blue or black nail polish, silver or white nail polish, and a thin nail art brush.
- Design: Paint your nails dark blue or black as the base. Create a moonlit forest by adding silver or white trees and accents for a mystical and enchanting atmosphere.
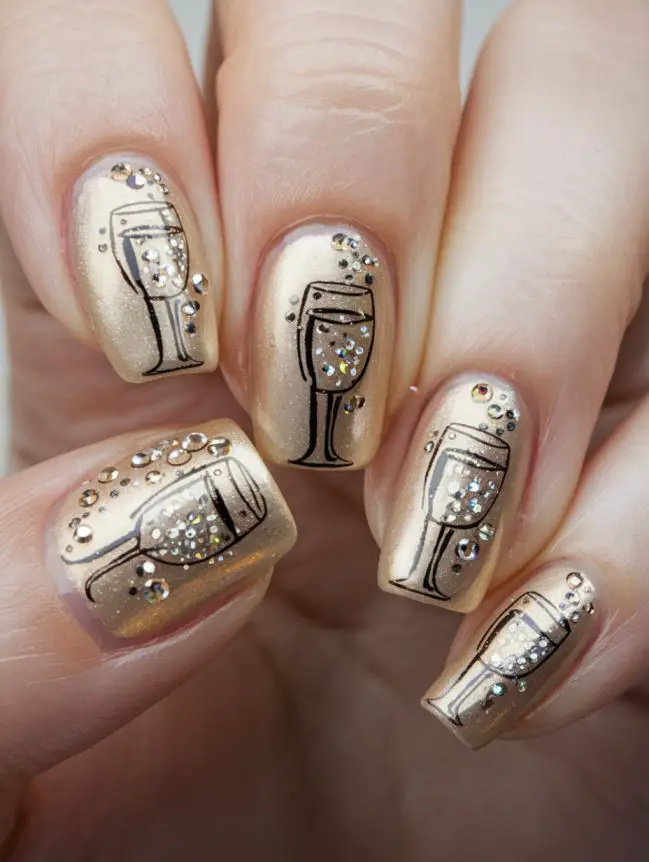
- Products: Gold nail polish, clear nail polish with iridescent glitter, and a dotting tool.
- Design: Paint your nails gold as the base. Create champagne bubbles with clear polish and iridescent glitter. Add a champagne glass accent on one nail for a celebratory touch.
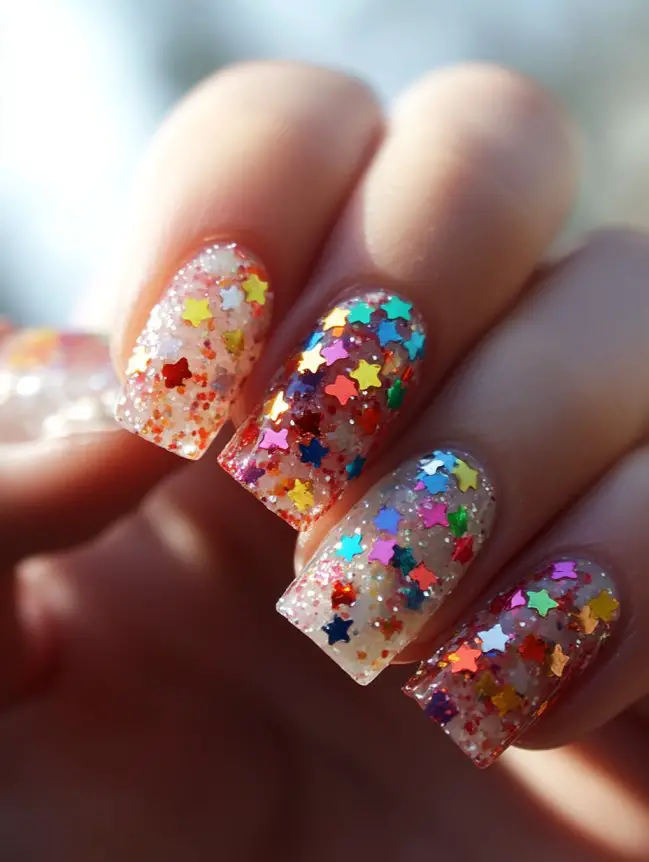
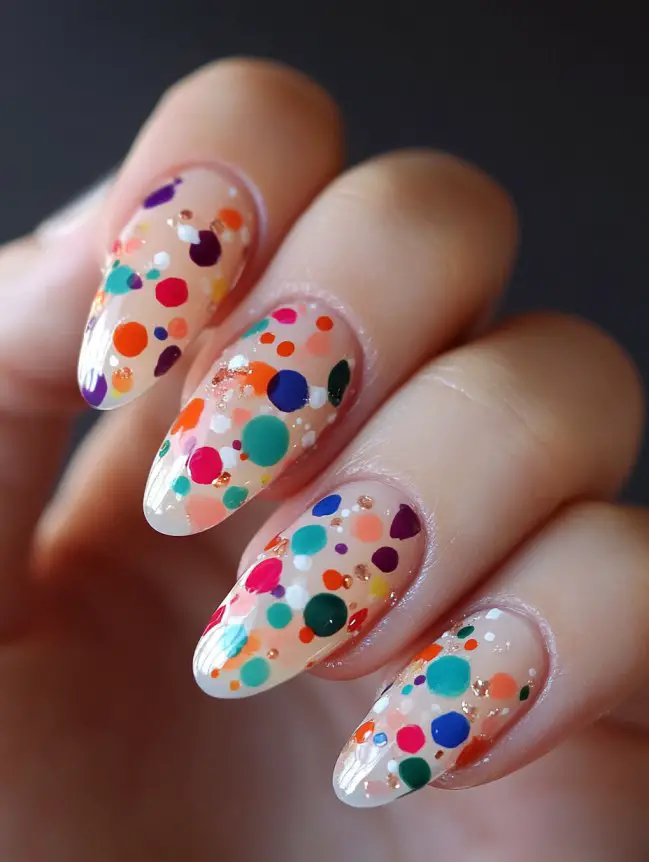
- Products: Clear nail polish, colorful nail polish for confetti, and a thin nail art brush.
- Design: Paint your nails clear as the base. Use colorful nail polish to create confetti designs all over your nails, resembling a party in full swing.
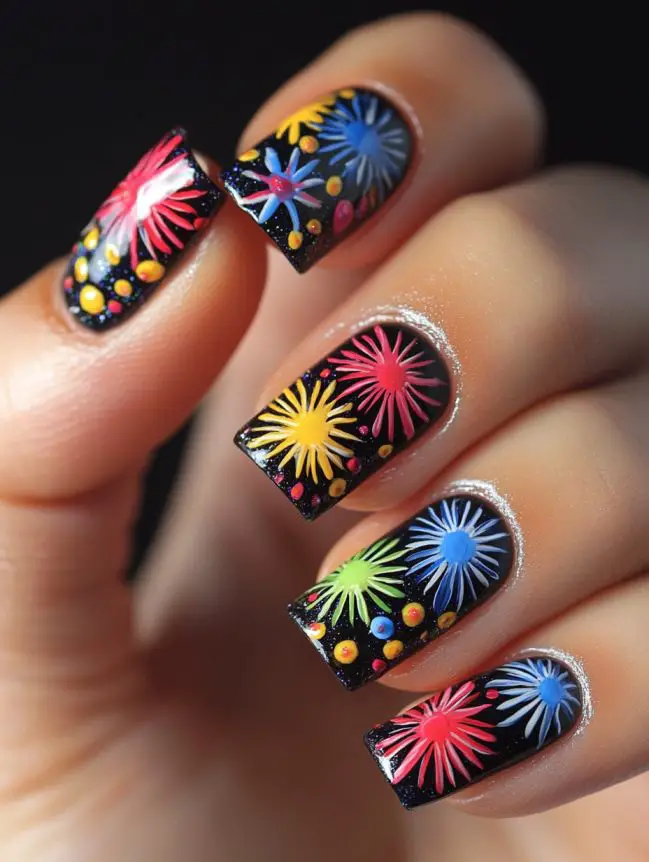
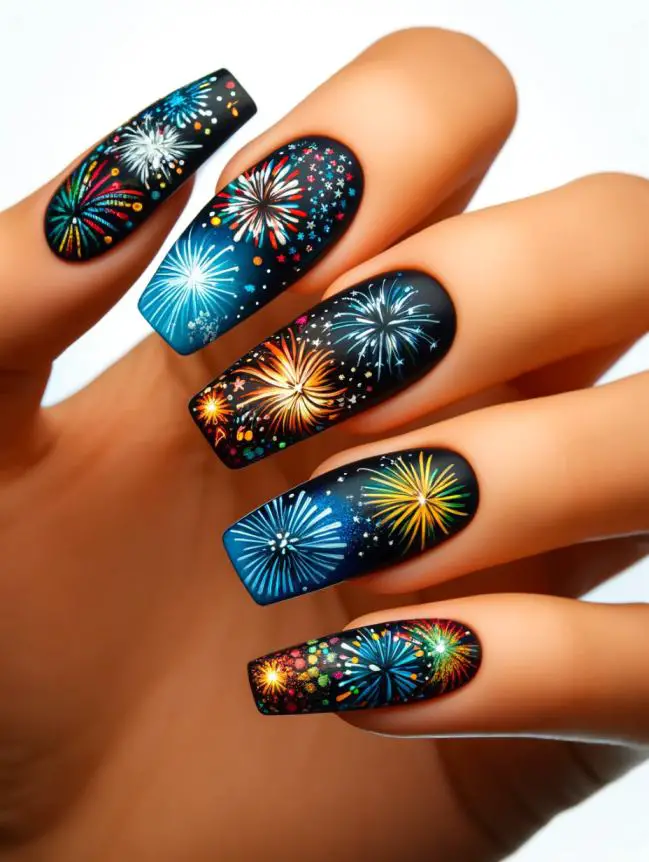
- Products: Black nail polish, bright and shimmery nail polish in various colors, and a thin nail art brush.
- Design: Paint your nails black as the base. Create explosive fireworks in the night sky using bright and shimmery nail polish colors with a thin nail art brush.
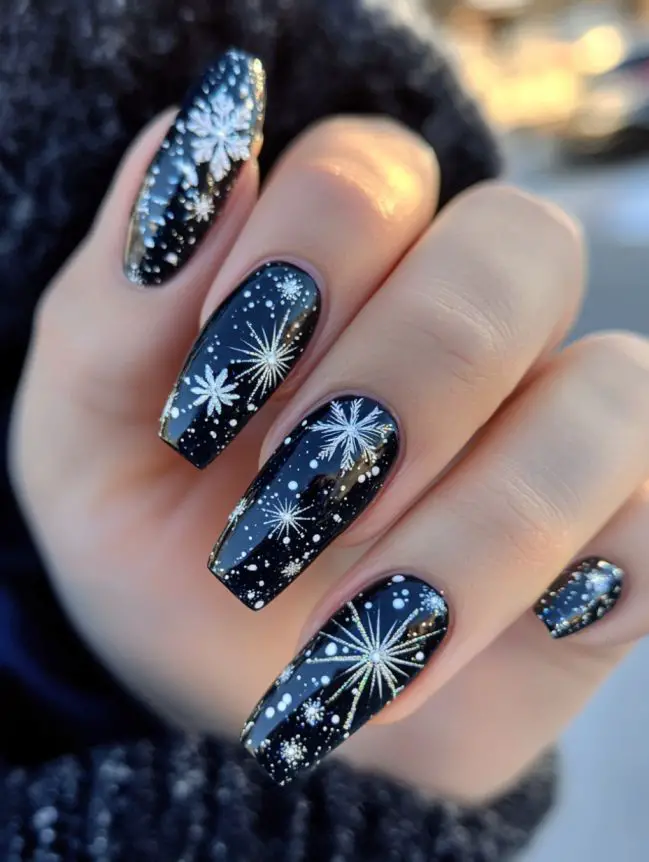
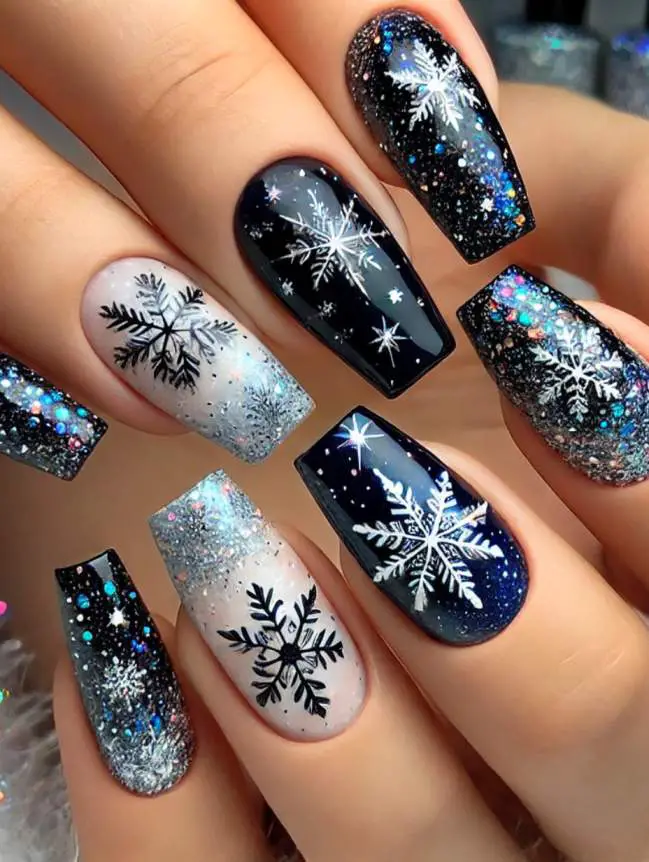
- Products: Silver or gold nail polish, white nail polish, and a thin nail art brush.
- Design: Paint your nails with silver or gold polish. Add intricate snowflake and star designs in white for a dazzling, starry night effect.
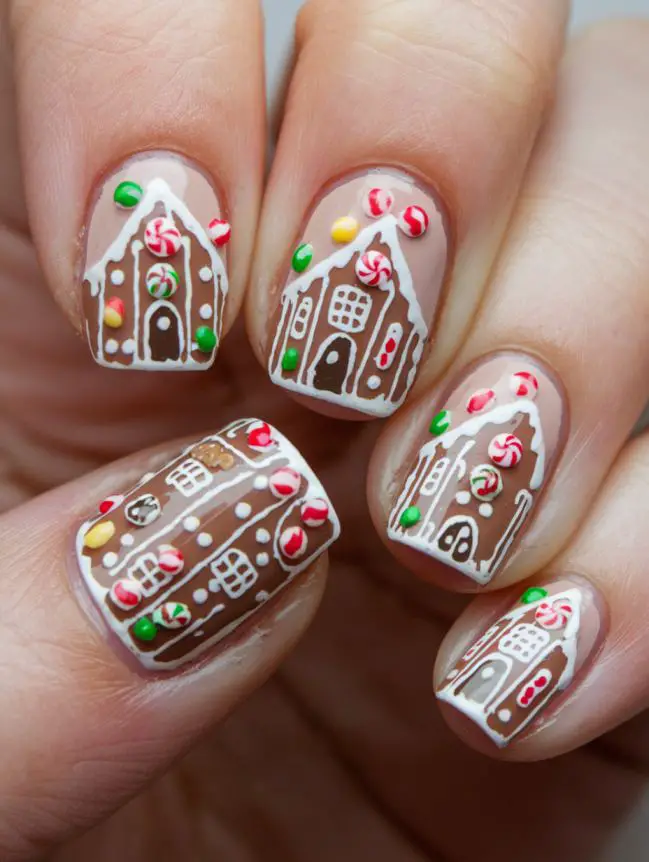
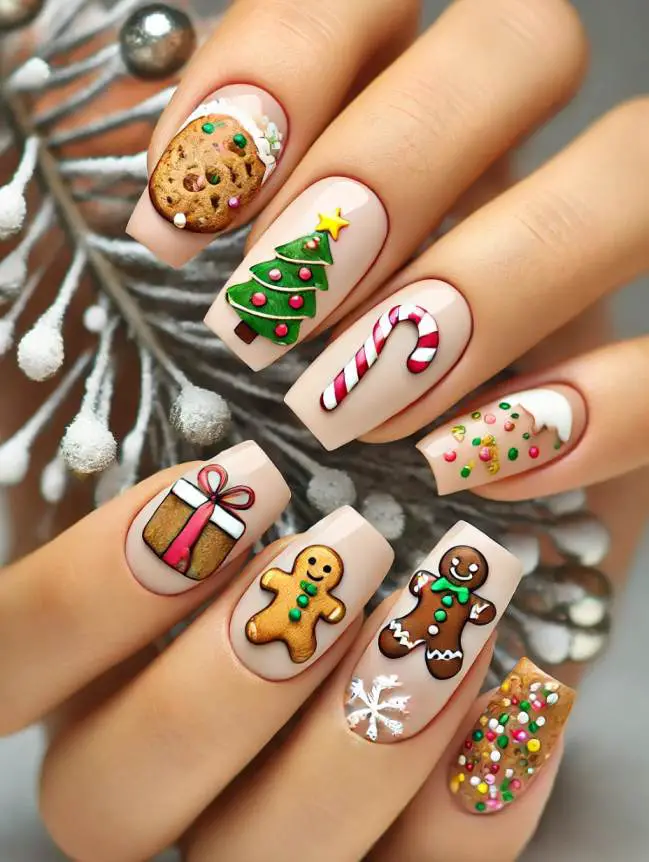
- Products: Brown nail polish, white nail polish, nail art brushes, and tiny nail art decorations like miniature gingerbread houses, trees, and candy canes.
- Design: Paint your nails brown as the base. Create a gingerbread village scene on your nails with white icing details and add tiny gingerbread houses, trees, and candy canes for a whimsical touch.
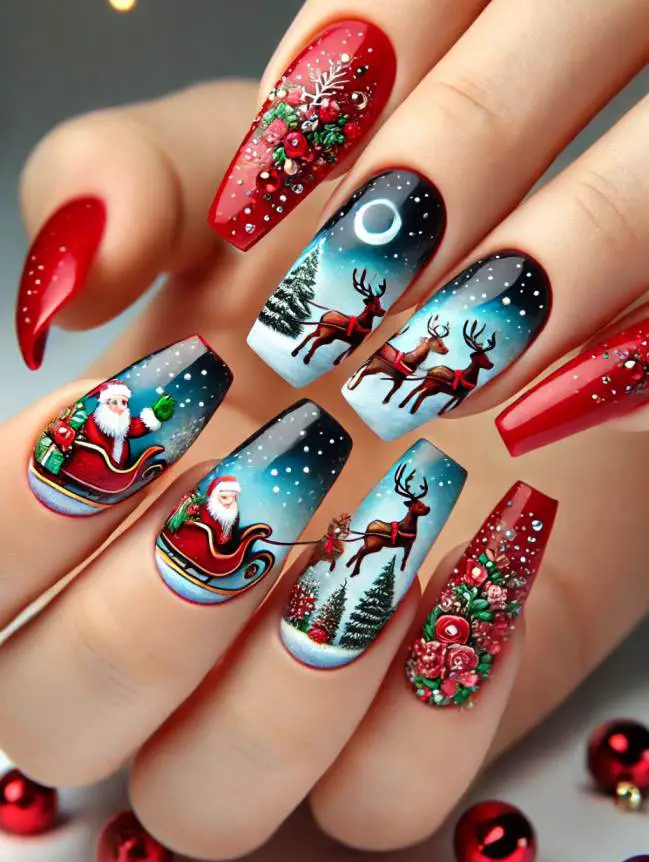
- Products: Sparkling navy blue nail polish, silver holographic nail polish, nail art brushes, and nail art decals of Santa’s sleigh and reindeer.
- Design: Apply sparkling navy blue as the base. Use silver holographic polish to add a twinkling night sky. Apply nail art decals of Santa’s sleigh and reindeer for a magical sleigh ride scene.
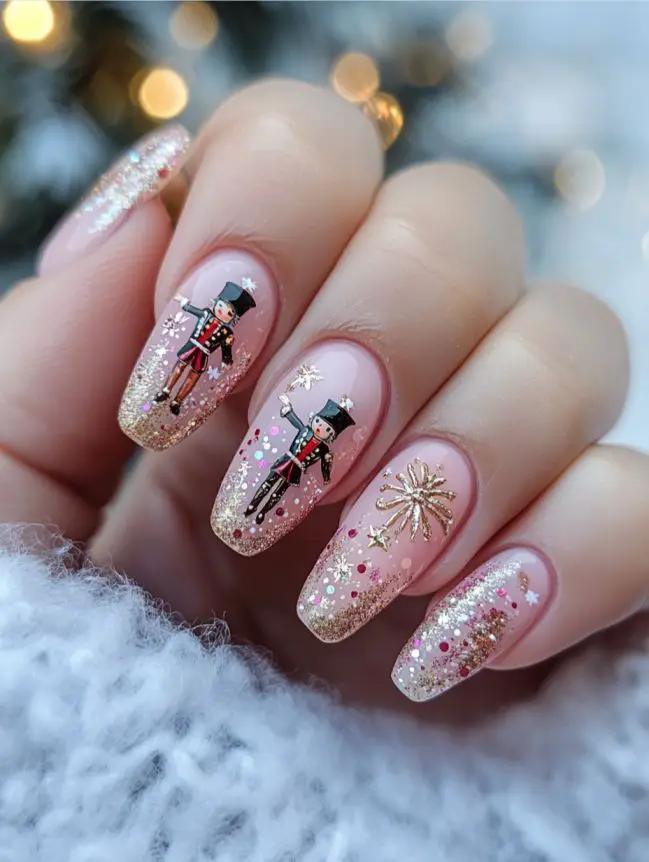
- Products: Ballet pink nail polish, black nail polish, gold nail polish, and nail art brushes.
- Design: Paint your nails ballet pink as the base. Create intricate nutcracker and ballet dancer designs using black and gold polish for a sophisticated and artistic look.
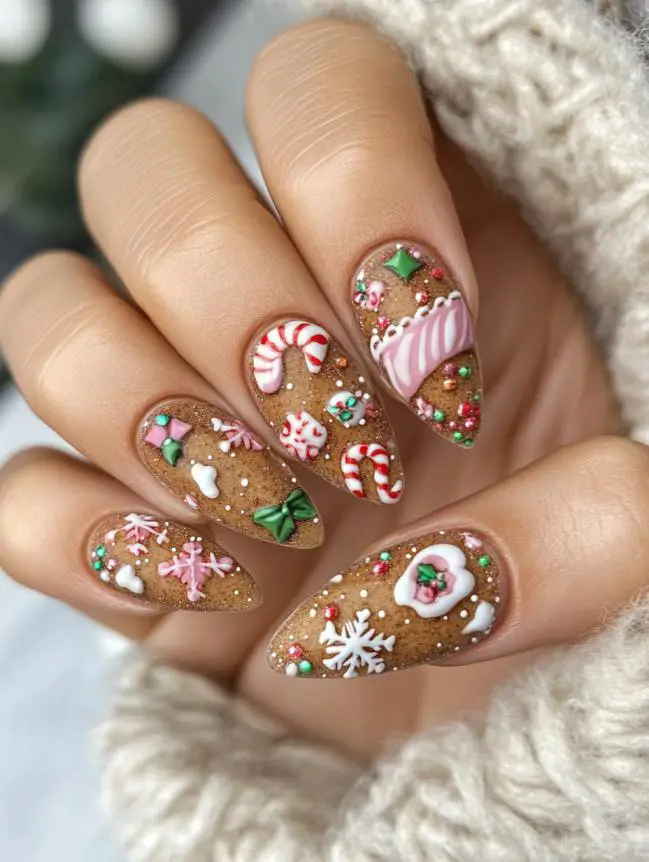
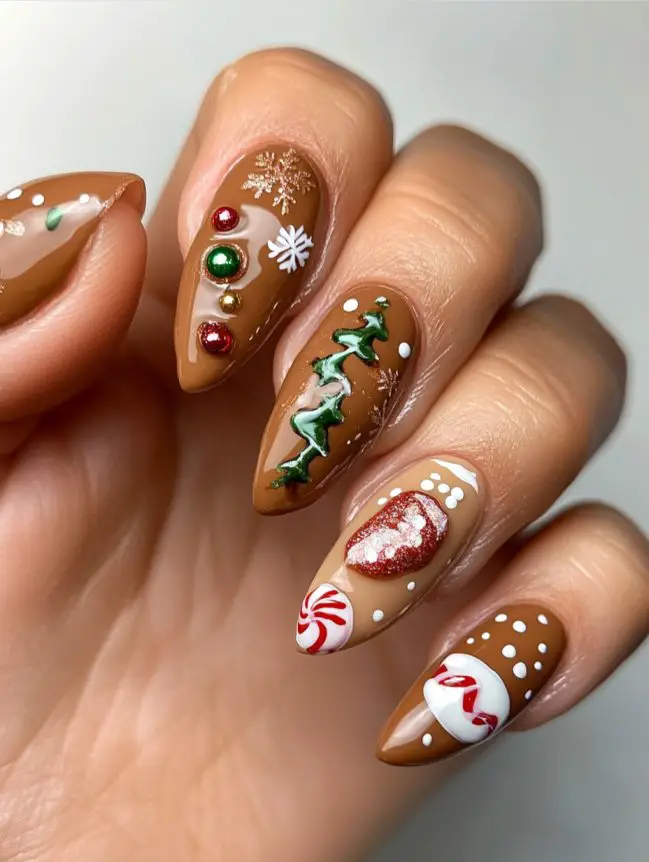
- Products: Nude nail polish, various colored nail polishes for decorating, and a nail art brush.
- Design: Paint your nails nude as the base. Use various nail polish colors to create tiny Christmas cookie designs like gingerbread men, candy canes, and snowflakes.
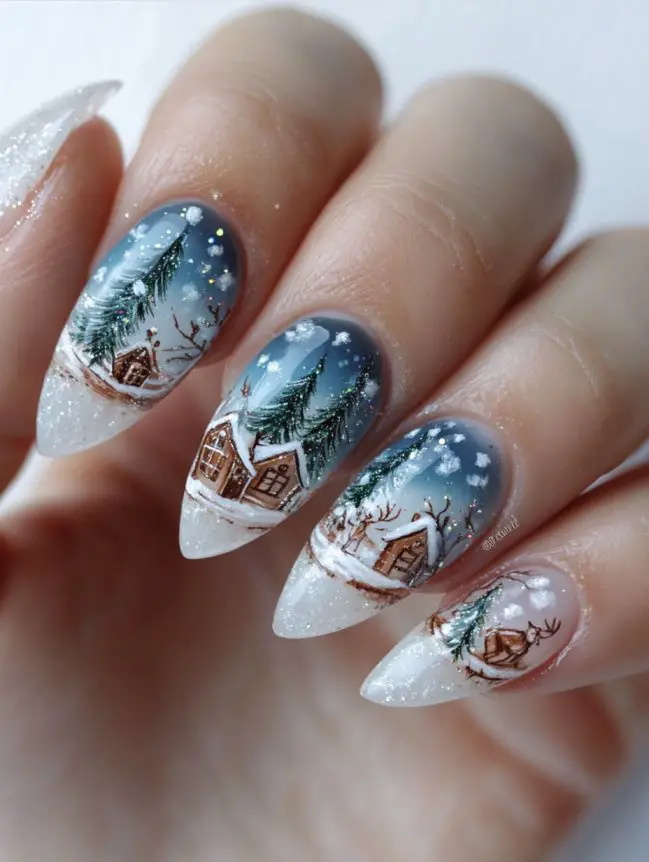
- Products: Clear nail polish, white nail polish, tiny nail art beads or glitter, and nail art decals of snow globe scenes.
- Design: Paint your nails with clear nail polish for the snow globe effect. Add white polish and tiny beads or glitter for a snowy base. Apply nail art decals of different snow globe scenes on each nail for a charming and intricate look
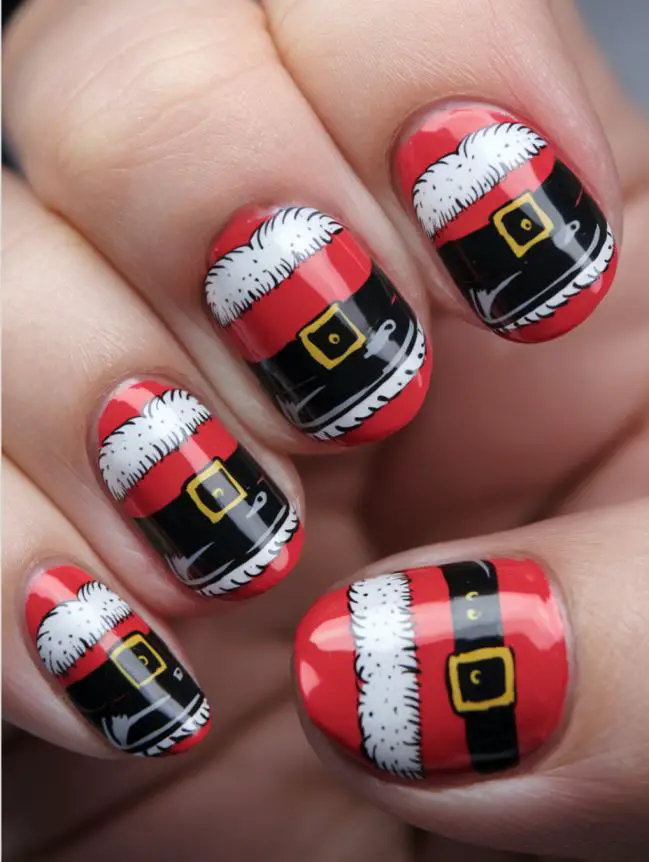
- Products: Red nail polish, black nail polish, and a thin nail art brush.
- Design: Paint your nails red as the base. Create Santa’s black belt across your nails and add his black boots at the tips for a playful Santa Claus look.
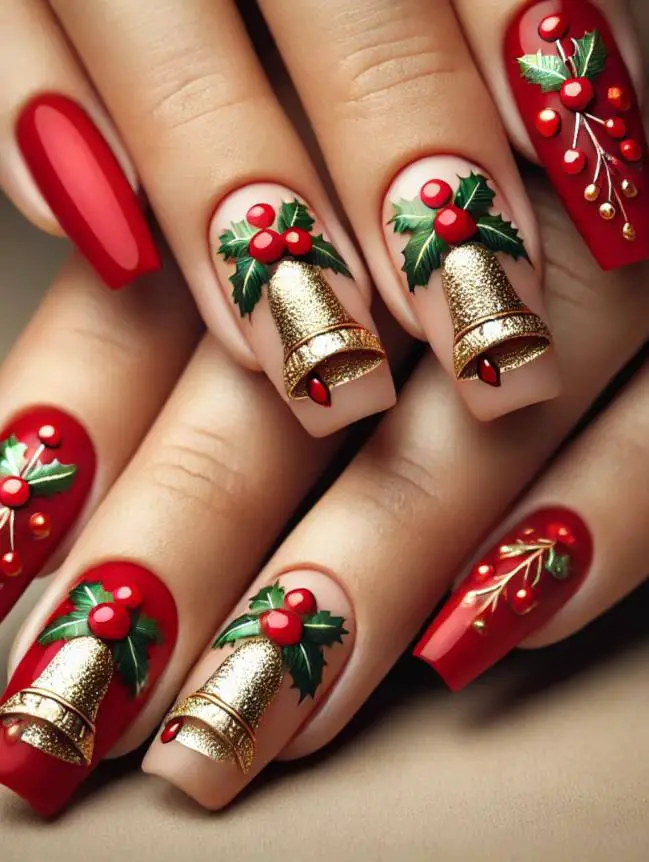
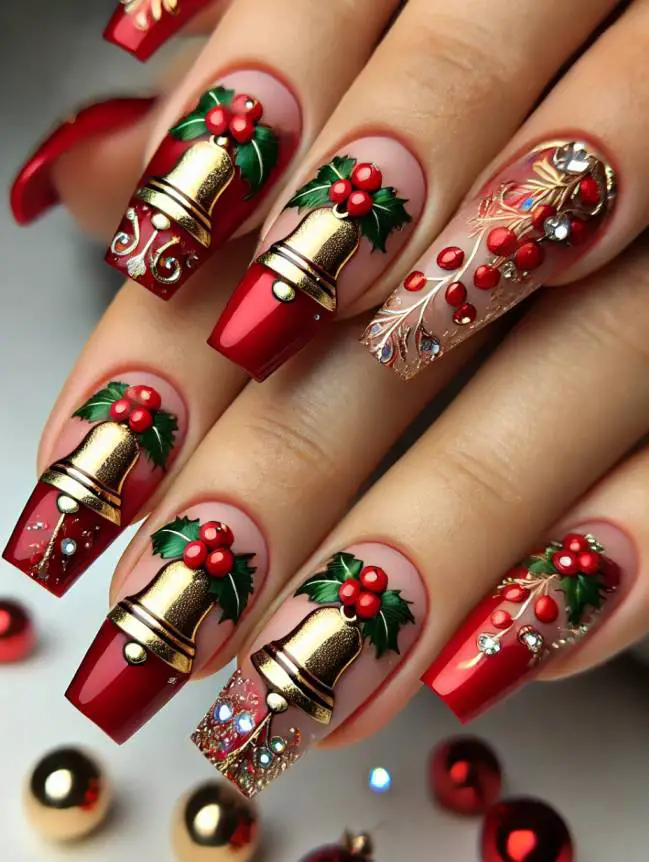
- Products: Silver nail polish, red nail polish, gold nail polish, and small nail art bells or studs.
- Design: Paint your nails silver as the base. Add red and gold accents and embellish with tiny nail art bells or studs for a jingling effect.
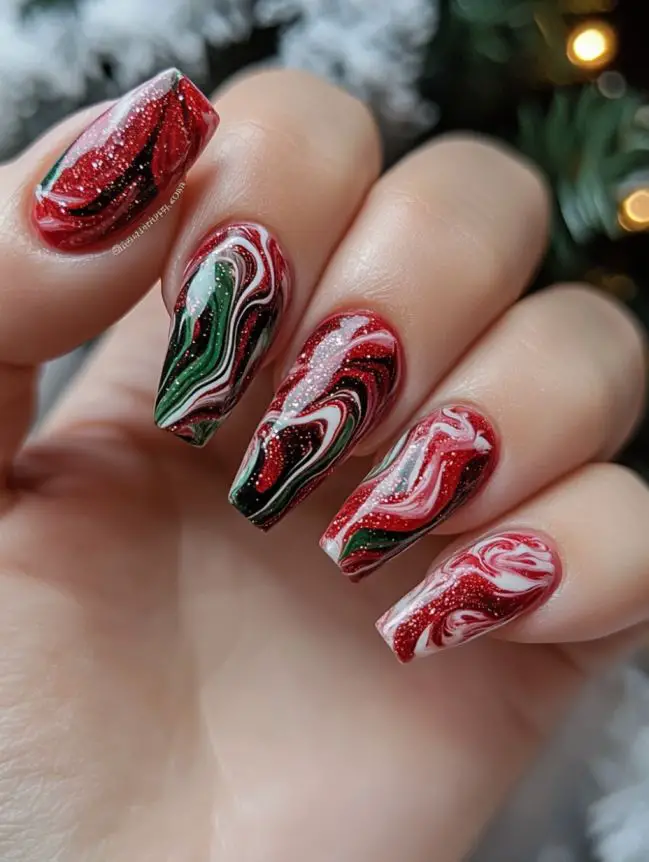
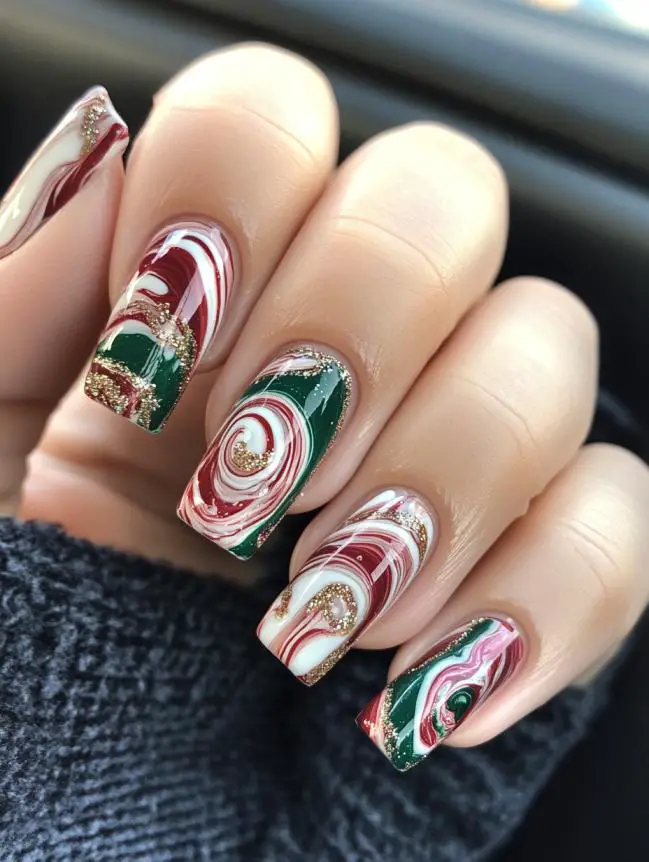
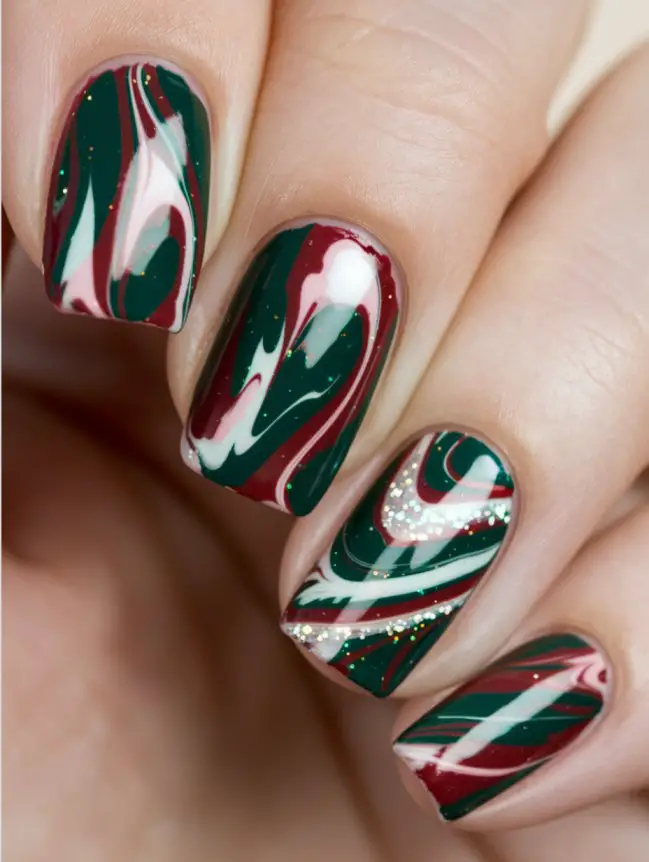
- Products: Red, green, and white nail polish, a water basin, toothpicks or a nail marbling tool, and tape (optional).
- Design: Drop alternating colors of nail polish into a water basin, then use a toothpick or marbling tool to create a marbled effect. Dip your nails into the design or use tape to create clean lines for a marbled French tip look.
Also Read-
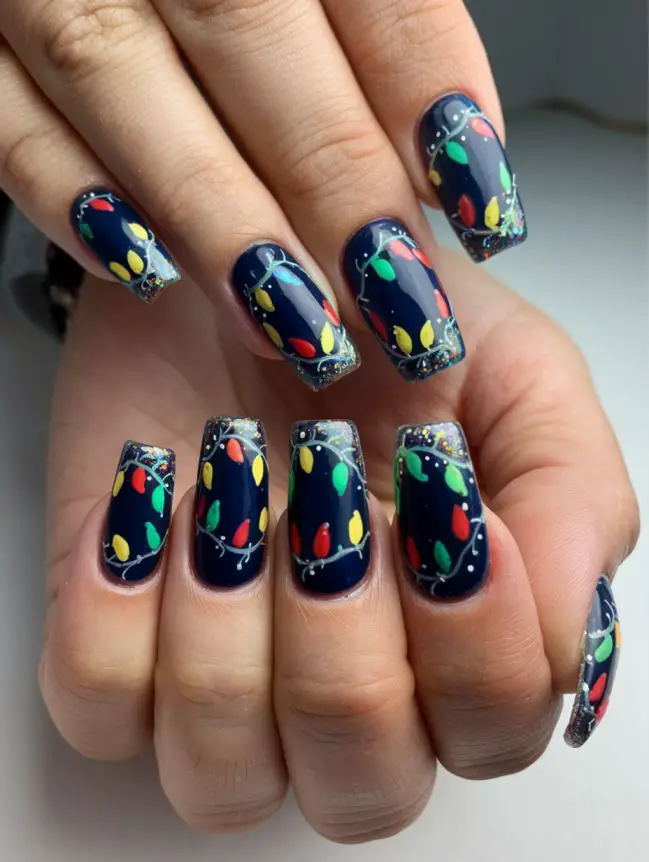
- Products: Black nail polish, colorful nail polish (for lights), silver glitter polish, and a thin nail art brush.
- Design: Paint your nails black as the base. Use colorful polish to create a Christmas lights garland across your nails, and add a touch of silver glitter for extra sparkle.
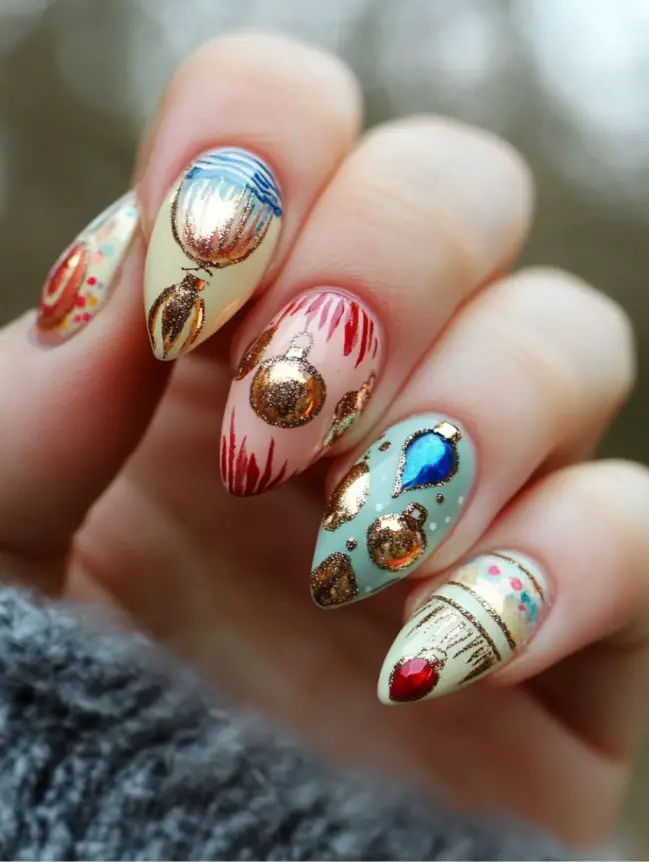
- Products: Red, green, and gold nail polish, a thin nail art brush, and a dotting tool.
- Design: Paint your nails with red and green as the base colors. Use gold polish and a thin brush to create vintage ornament designs and add dots for decoration.
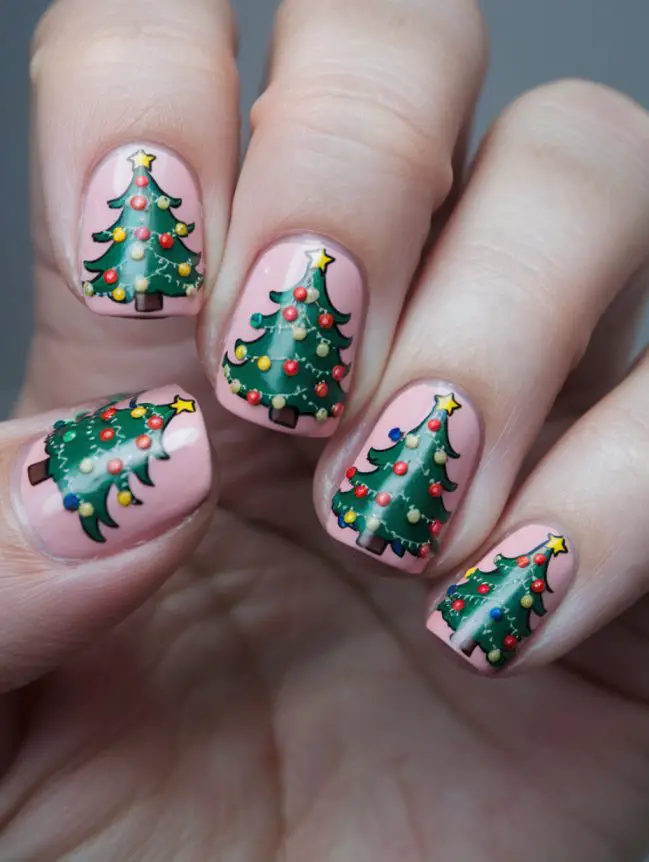
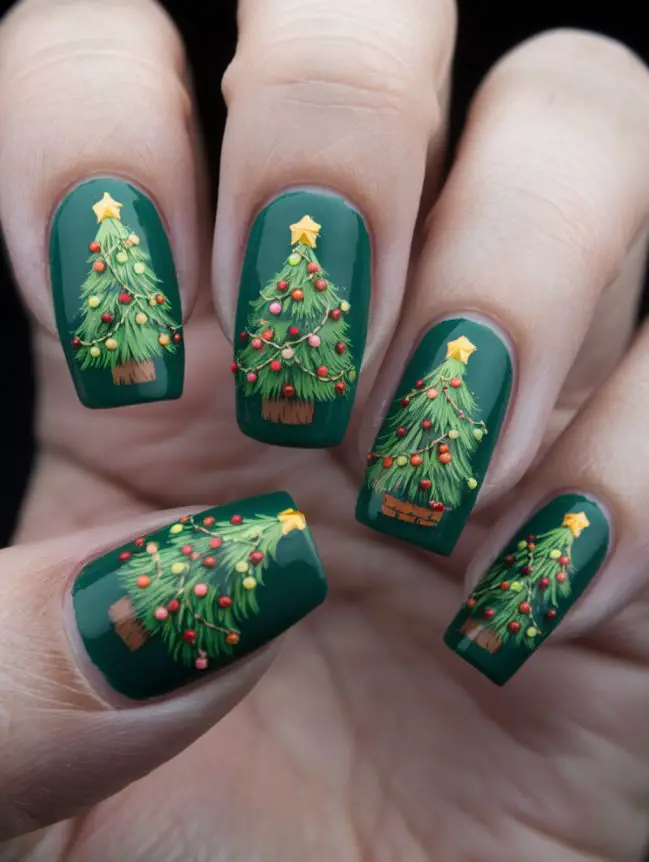
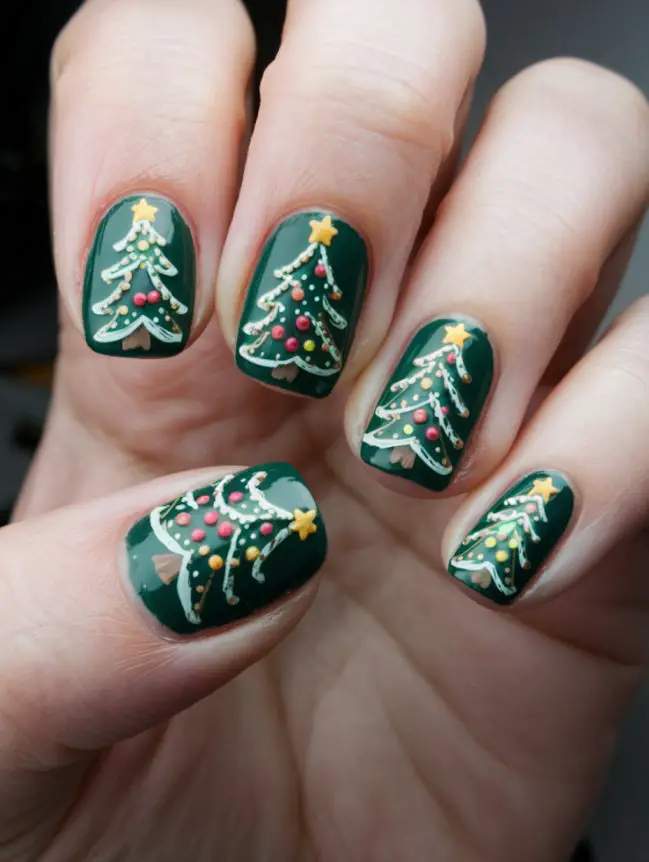
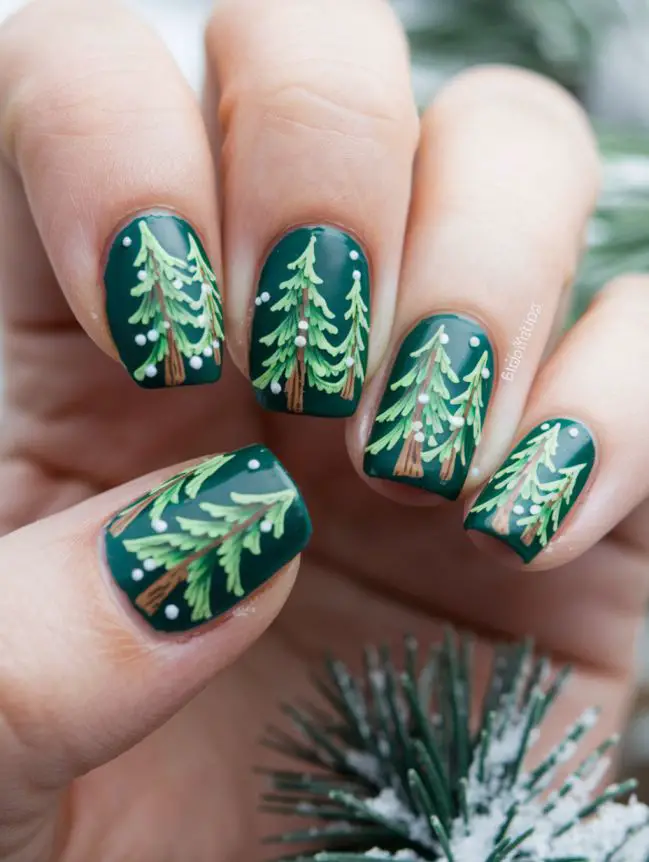
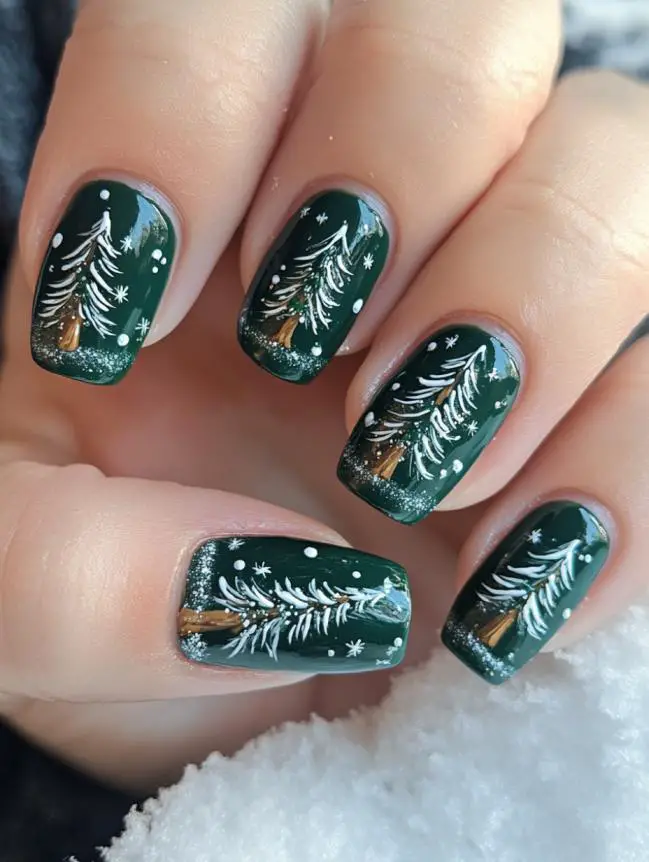
- Products: Green nail polish, brown nail polish, colorful nail polish (for ornaments), and a dotting tool.
- Design: Paint your nails green for the trees and brown for the trunks. Use the dotting tool and various colors to add ornaments to the trees.
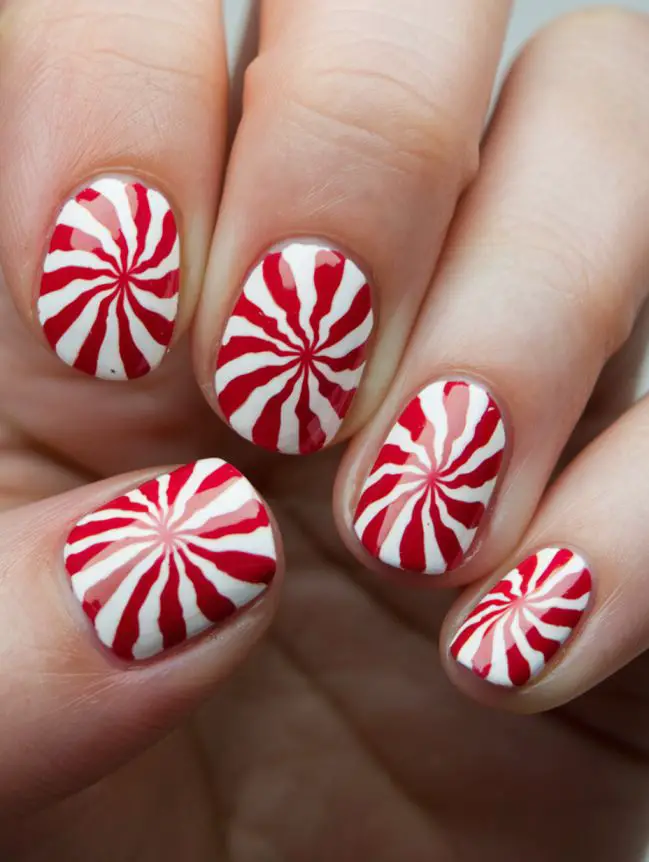
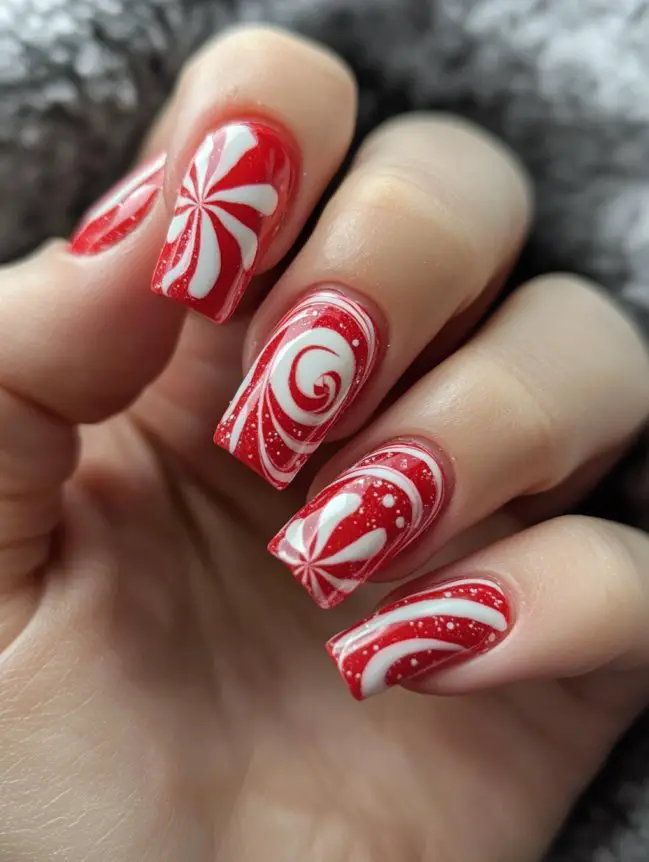
- Products: Red nail polish, white nail polish, and a nail art brush.
- Design: Paint your nails red as the base. Use a nail art brush to create swirling white lines reminiscent of peppermint candy. Finish with a topcoat for a glossy look.
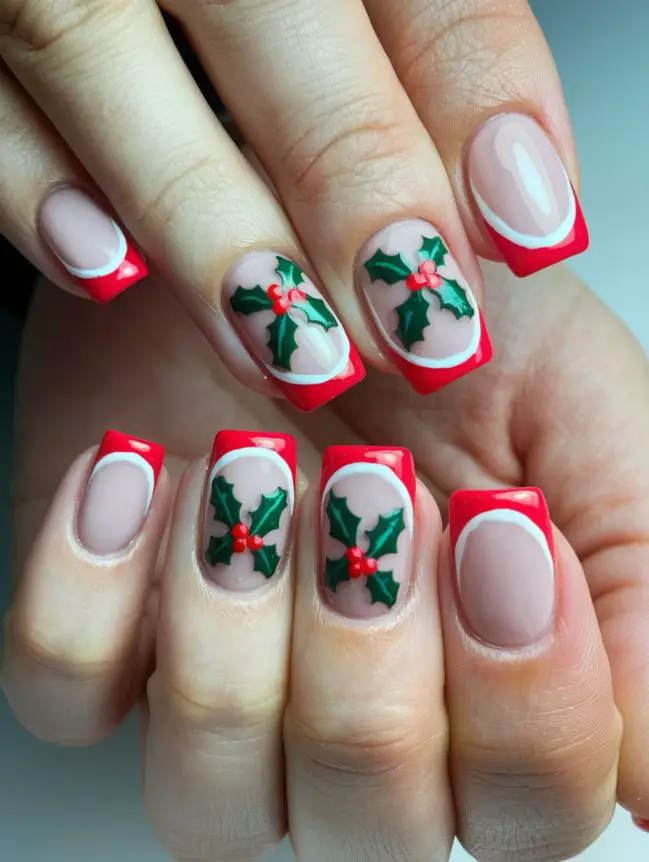
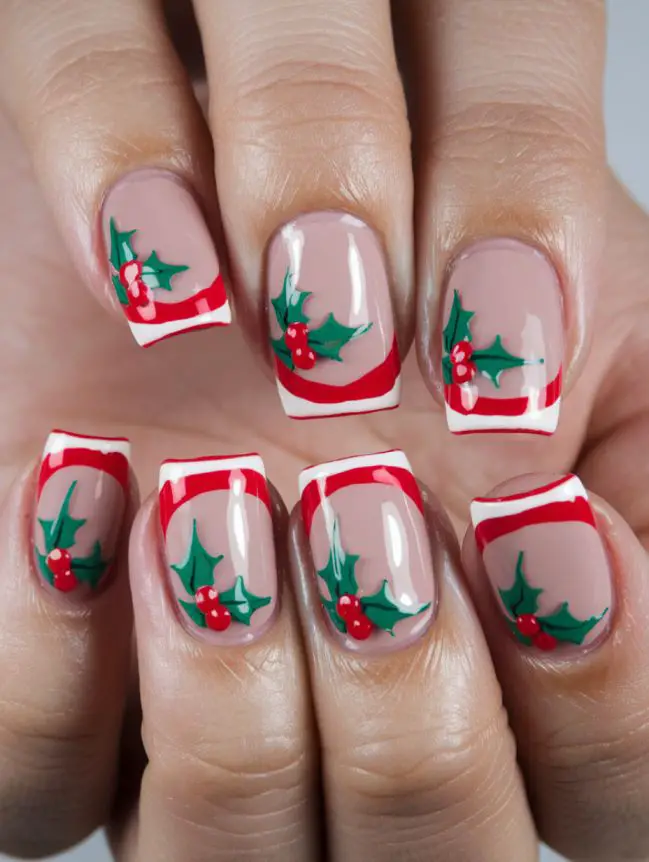
- Products: Red nail polish, white nail polish, green nail polish, and a nail art brush.
- Design: Apply red as the base color. Create a white French tip, then add holly leaves and red berries at the base of the French tip using green and red polish.
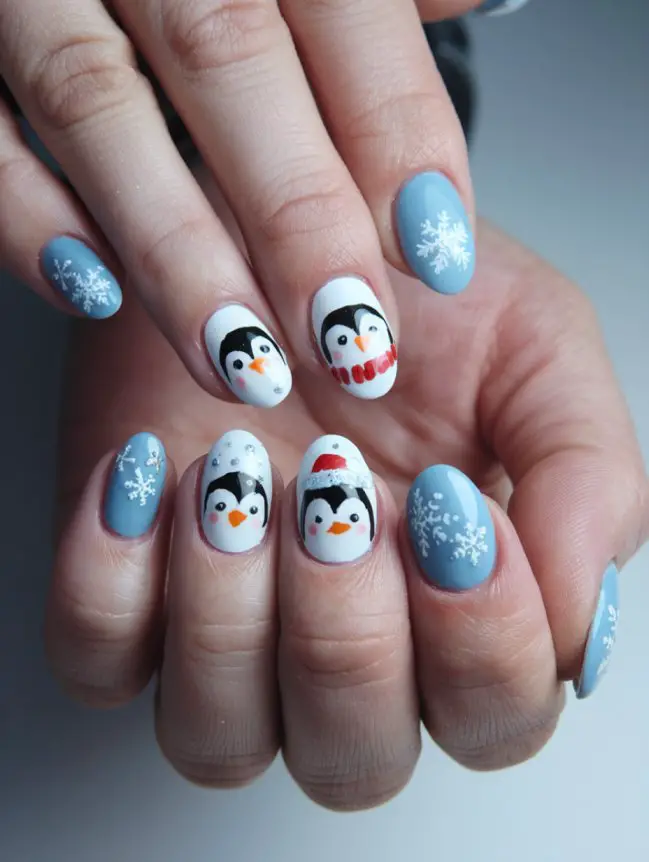
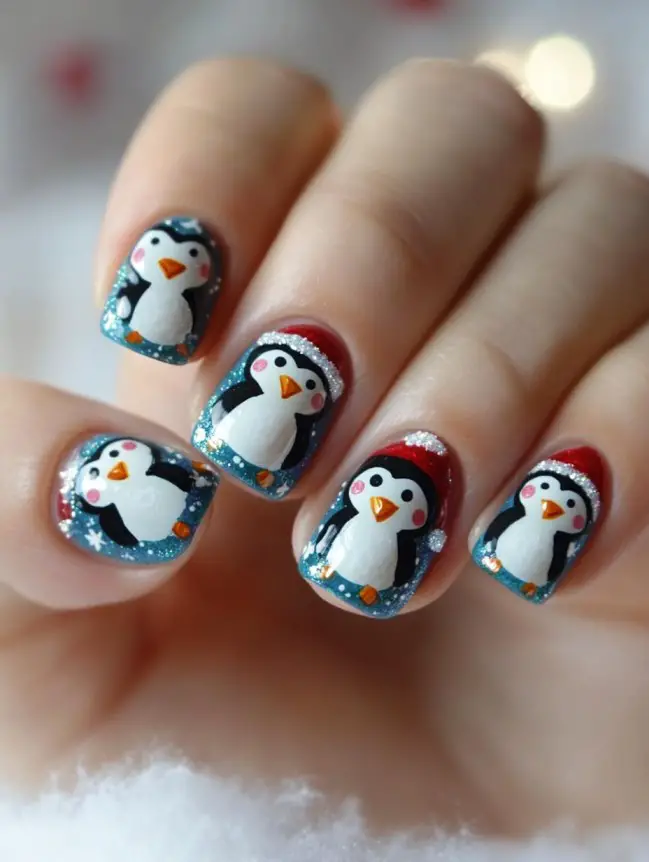
- Products: White nail polish, black nail polish, orange nail polish, nail art brushes, and a dotting tool.
- Design: Paint your nails white as the base. Use black polish to create penguin faces with orange beaks and feet. Add small details like eyes and scarves.
You can decorate Christmas nails by choosing festive colors, like red, green, and gold, and adding holiday-themed designs such as snowflakes, reindeer, or ornaments using nail polish, nail art brushes, and stickers.
Popular nail colors for the Christmas season include classic red, deep green, shimmery gold, silver, and icy blue. These colors capture the holiday spirit.
Easy Christmas nail art can be achieved by using nail decals, nail stickers, or stamping plates for quick designs. You can also create simple holiday patterns with nail striping tape.
Nail designs for Christmas can include various options like snowflakes, Santa Claus, Christmas trees, candy canes, and holiday-themed patterns that celebrate the festive season.
Nail designs can go on any or all of your fingernails, depending on your preference. Common choices include accent nails (ring fingers) or all nails with coordinated designs.
The most popular nail colors for Christmas are red, green, gold, silver, and white. These colors are associated with holiday traditions and celebrations.
To create snow nail art, use white nail polish or acrylic paint to paint snowflakes, snowdrifts, or falling snow on your nails. You can also use nail stamping plates with snowflake designs for a detailed look. Finish with a topcoat for a glossy finish.
These answers should help you get started with your holiday nail designs and make the process more enjoyable.
You can decorate your nails easily by using nail stickers, press-on nail designs, or simple nail stamping kits. These tools and techniques require less artistic skill.
You can create the illusion of Christmas lights on your nails by using nail striping tape or a thin nail art brush to draw lines in various colors, then add small dots of white or yellow to represent the lights.
Nail colors that look good in winter include deep burgundy, navy blue, cool-toned grays, and icy pastels. These shades evoke a wintery and cozy vibe.
‘Tis the season to make your nails sparkle with holiday magic! These Christmas nail art ideas will transform your fingertips into festive works of art. Whether you opt for candy cane stripes or mistletoe kisses, embrace the spirit of the holidays with creativity at your fingertips. Don’t forget to explore our recommended products to make your holiday nail dreams come true. Happy decorating, and may your nails be the highlight of every celebration!
Stay Gorgeous, Share the Secret! 💖
